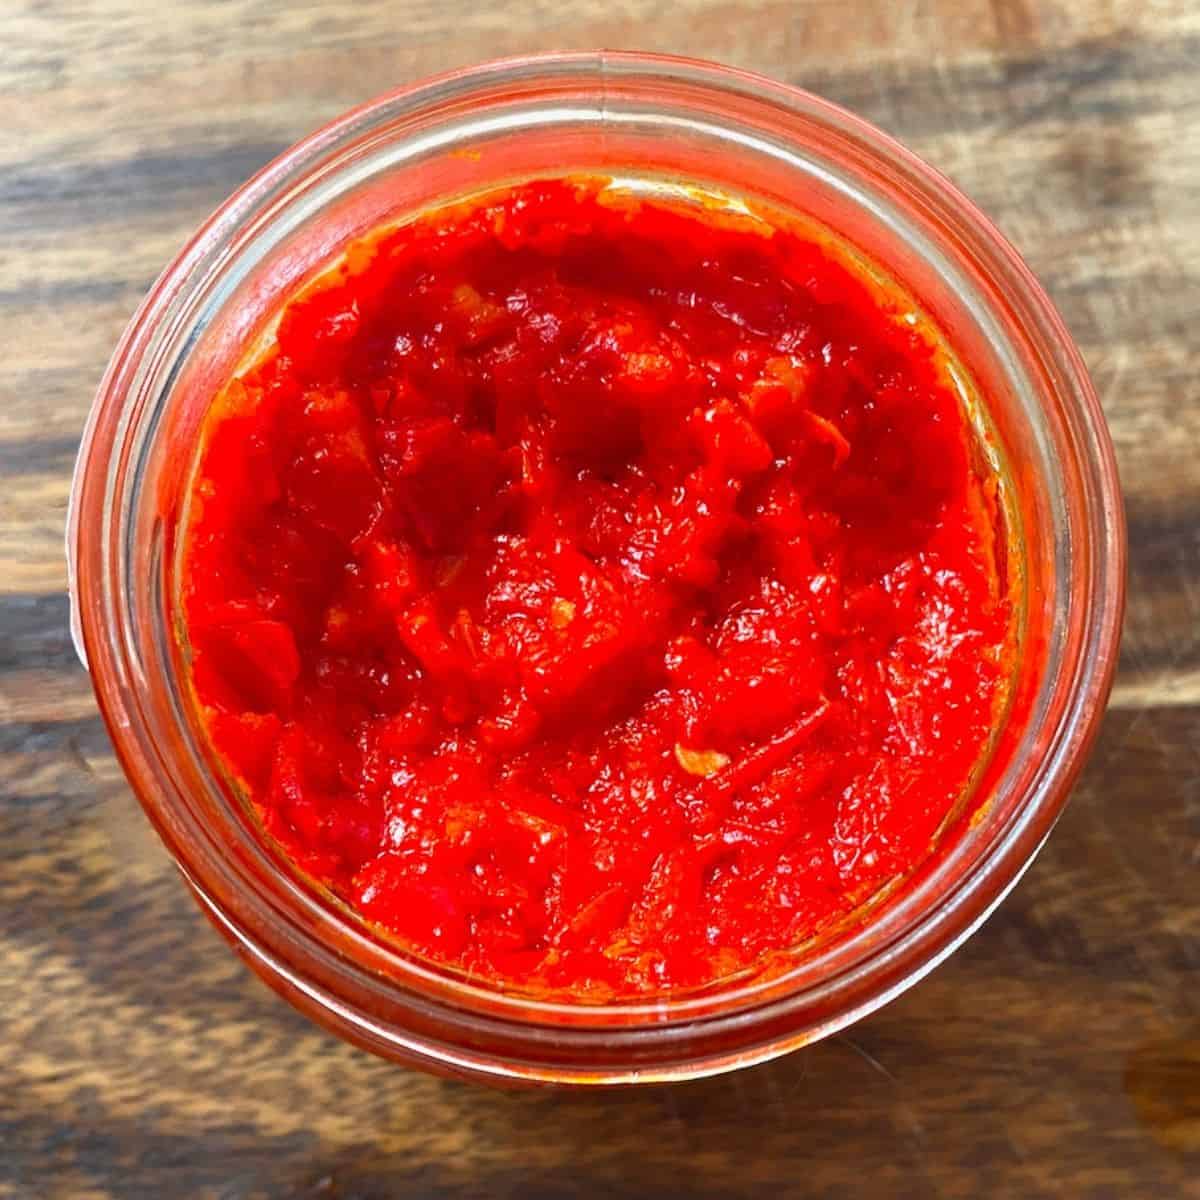
Unlock a world of vibrant flavors and exhilarating heat right in your own kitchen by mastering how to make red chili paste from scratch. This versatile condiment, a staple in countless global cuisines from fiery Asian stir-fries to robust Mexican stews and aromatic Indian curries, is far more than just a source of spice. It's a flavor enhancer, a color booster, and a culinary canvas waiting for your personal touch. While store-bought options are readily available, crafting your own homemade red chili paste offers unparalleled freshness, allows for complete control over ingredients, and, most importantly, frees your dishes from unwanted preservatives and artificial additives.
Imagine a rich, aromatic paste tailored precisely to your preferred heat level and flavor profile – be it smoky, sweet, tangy, or deeply umami. In just 20-30 minutes, you can transform simple dried chilies into a culinary powerhouse. Beyond the immediate satisfaction, we’ll also delve into smart storage solutions, including a safe water bath canning method, ensuring you have this fiery elixir on hand for months to come.
Why Homemade Red Chili Paste is a Game-Changer
The decision to make your own red chili paste isn't just about saving a few dollars; it's about elevating your cooking to a new level. Here’s why homemade truly stands out:
- Unrivaled Freshness & Flavor: Store-bought pastes, while convenient, often lack the vibrant, nuanced flavors of fresh ingredients. Homemade paste bursts with the natural essence of chilies, garlic, and ginger, resulting in a more aromatic and potent condiment.
- Control Over Ingredients: You dictate what goes into your paste. This means no artificial colors, preservatives, or high-fructose corn syrup. It’s a clean-label product made by you, for you.
- Customizable Heat Levels: Are you a mild spice enthusiast or a daring heat seeker? With homemade paste, you can easily adjust the type and quantity of chilies to match your palate perfectly.
- Tailored Flavor Profiles: Beyond just heat, you can infuse your paste with additional aromatics, herbs, or spices, creating a unique signature condiment that perfectly complements your favorite dishes.
- Cost-Effective: Dried chilies are relatively inexpensive, and a small batch yields a generous amount of paste, offering significant savings over time compared to specialty store-bought varieties.
Essential Ingredients for Your Signature Chili Paste
The beauty of red chili paste lies in its simplicity, yet each ingredient plays a crucial role in its final flavor and texture. Here’s what you’ll need:
- Dried Red Chilies: This is your foundation. The choice of chili significantly impacts both heat and flavor.
- Szechuan chilies: Offer a smoky heat with a unique numbing sensation.
- Kashmiri chilies: Known for their vibrant red color and mild heat, perfect for a deep hue without overwhelming spice.
- Arbol chilies: Provide a clean, sharp heat.
- Guajillo chilies: Bring a fruity, tangy, and mild-to-medium heat.
- Chipotle chilies: Smoked jalapeños that add a deep, smoky richness.
- Bird's Eye or Thai chilies: For those who crave intense heat.
- Boiling Water: Essential for rehydrating and softening the dried chilies.
- Neutral Cooking Oil: Vegetable, canola, or grapeseed oil are excellent choices. They act as a medium for cooking and preserve the paste.
- Fresh Aromatics:
- Garlic: Adds pungency and depth.
- Ginger: Contributes a spicy, zesty freshness.
- Seasonings:
- Salt: Balances flavors and acts as a preservative.
- Sugar: Rounds out the heat and adds a touch of sweetness.
- Vinegar: White or rice vinegar adds a crucial tangy note, brightens the paste, and aids in preservation, especially important for canning.
- Optional Enhancers: Soy sauce or a squeeze of lemon/lime juice can add umami or extra brightness. Consider a pinch of star anise, cardamom, or even a dash of fish sauce for unique twists.
Step-by-Step Guide: How to Make Red Chili Paste from Scratch
The process is straightforward, breaking down into a few key stages that ensure a perfect, flavorful paste every time.
Preparing Your Chilies for Optimal Flavor
- Remove Stalks: Begin by carefully removing the stems from all your dried red chilies. You can also remove some seeds at this stage if you prefer a milder paste, though keeping them adds heat and body.
- Rehydrate: Place the chilies in a heatproof bowl. Pour boiling water over them, ensuring they are fully submerged. Use a small plate or another heavy object to keep them under the water. Let them soak for 25-30 minutes. This step is crucial as it softens the chilies, making them easier to blend into a smooth paste and helping to rehydrate their flavor compounds.
- Drain and Reserve: Once softened, drain the chilies but be sure to reserve about ½ to 1 cup of the soaking water. This water is packed with chili flavor and will be used to achieve your desired paste consistency during blending.
Blending to Perfection: Texture and Consistency
- Combine Ingredients: Transfer the softened chilies to a blender or food processor. Add a few tablespoons of the reserved soaking water to start.
- Blend Until Smooth: Begin blending, gradually adding more soaking water as needed, a tablespoon at a time, until you achieve a smooth, consistent paste. Periodically scrape down the sides of the blender to ensure all chilies are processed evenly.
- Achieve Desired Texture: Some prefer a slightly coarse paste for texture, while others aim for silky smoothness. Adjust blending time and water quantity accordingly.
The Cooking Process: Unlocking Aromas and Deepening Flavors
- Heat Oil: In a medium pan or wok, heat 2-4 tablespoons of your chosen cooking oil over medium heat.
- Sauté Aromatics (for seasoned paste): If you’re making a seasoned paste, add minced garlic and ginger to the hot oil first. Sauté for about 30-40 seconds until fragrant, being careful not to burn them. This step infuses the oil with their delicious aroma before the chilies are added.
- Add Chili Paste: Carefully add the blended chili mixture to the hot oil (and aromatics, if used). Stir well to combine.
- Cook and Season: Sauté the chili paste for 3-4 minutes. You'll notice the color deepening and a rich, fragrant aroma developing. At this point, add your salt, sugar, and vinegar. Continue cooking for another 2-5 minutes, stirring constantly. This cooking process is vital: it mellows the raw chili flavor, allows the oil to fully infuse, and cooks out excess moisture, contributing to better flavor and shelf life. Be vigilant not to overheat or burn the paste, as this can lead to a bitter taste.
- Taste and Adjust: Take a small sample and adjust the salt, sugar, or vinegar to your taste. This is your chance to perfectly balance the heat with sweetness and tang.
Customizing Your Red Chili Paste: Beyond the Basics
Once you’ve mastered the fundamental process, the real fun begins: customization. Your homemade red chili paste can become a unique culinary signature.
- Spice Level Adjustment: Beyond choosing chili types, you can further control heat by:
- Seed Removal: Removing more seeds and veins significantly reduces heat.
- Adding Fresh Chilies: For a brighter, sharper heat, blend in a few fresh red chilies (like Bird's Eye) along with the rehydrated dried ones.
- Flavor Profile Expansion:
- Smoky & Earthy: Incorporate smoked paprika, ancho chili powder, or even a touch of liquid smoke during the cooking phase.
- Sweet & Spicy: Increase sugar, or try substitutes like palm sugar or a drizzle of honey/maple syrup.
- Umami-Rich: A splash of fish sauce, a spoonful of miso paste, or even a pinch of dried mushroom powder can add incredible depth.
- Tangy & Bright: Beyond vinegar, a squeeze of fresh lime juice or a hint of tamarind paste can lift the flavors.
- Aromatic & Herbal: Experiment with finely minced lemongrass, kaffir lime leaves, or even a few star anise pods during the cooking stage (remove whole spices before blending for a smooth paste).
- Texture Variations: For certain dishes, you might prefer a chunkier paste. Simply blend for less time, or use a coarse grate on your food processor.
Remember, your kitchen is your lab! Don't be afraid to experiment with small batches to discover your perfect blend. For more quick tips and flavor combinations, explore resources like Make Homemade Red Chili Paste in 30 Minutes: Fresh & Flavorful.
Storage Solutions: Extending the Life of Your Homemade Paste
Once your glorious red chili paste is ready, proper storage ensures its longevity and safety.
- Cool Completely: Always allow the cooked paste to cool down completely to room temperature before storing. This prevents condensation which can lead to spoilage.
- Refrigeration: Transfer the cooled paste to a clean, airtight container or jar. It will keep well in the refrigerator for up to 15 days. For extra measure, you can pour a thin layer of neutral oil over the surface to create a seal, helping to prevent oxidation and extend freshness.
- Freezing: For longer storage, freezing is an excellent option. Spoon the paste into ice cube trays for convenient, portioned servings. Once frozen solid, transfer the cubes to a freezer-safe bag or container. Frozen chili paste can last for up to 6 months. Thaw individual portions as needed for cooking.
- Water Bath Canning for Extended Shelf Life: If you're looking for truly long-term storage, water bath canning is a fantastic method, providing shelf stability for up to a year.
- Sterilize Jars: Ensure your canning jars and lids are clean and sterilized according to manufacturer instructions.
- Prepare Paste: For canning, it's crucial that your paste has sufficient acidity (pH of 4.6 or lower) to prevent bacterial growth. The addition of vinegar in this recipe helps achieve this. For added safety, some recommend a ratio of at least 1 part vinegar to 10 parts chili paste.
- Fill Jars: Carefully ladle the hot chili paste into the sterilized jars, leaving ½ inch of headspace. Wipe rims clean with a damp cloth. Place lids and rings on tightly.
- Process in Water Bath: Place jars on a rack in a large pot filled with water. The water should cover the jars by at least one inch. Bring the water to a rolling boil and process pint jars for 15 minutes (adjusting time for altitude if necessary).
- Cool and Store: Carefully remove jars and let them cool on a towel-lined surface for 12-24 hours. Check seals (lids should be concave). Store properly sealed jars in a cool, dark place.
Making red chili paste at home is a rewarding culinary adventure. It's a straightforward process that yields a fresh, flavorful, and incredibly versatile condiment, far superior to most store-bought alternatives. By taking the time to prepare your own, you gain control over ingredients, customize flavors to your exact preference, and unlock a world of culinary possibilities. From quick weeknight meals to elaborate gourmet creations, your homemade red chili paste will undoubtedly become an indispensable ingredient in your kitchen. So, gather your chilies, embrace the heat, and start crafting your perfect paste today!
