Make Homemade Red Chili Paste in 30 Minutes: Fresh & Flavorful
Elevate your culinary creations with a vibrant, intensely flavorful red chili paste, crafted right in your own kitchen. Forget bland, preservative-laden store-bought versions; learning
how to make red chili paste at home is surprisingly simple, takes less than 30 minutes of active prep, and yields a fresh condiment that will transform your dishes. From Asian stir-fries to zesty Mexican marinades, or even a spicy kick in your morning eggs, this versatile paste offers unparalleled depth, heat, and a beautiful crimson hue.
Why Homemade Red Chili Paste is a Game-Changer
The difference between homemade and store-bought chili paste is like night and day. Once you experience the robust flavors and fresh aroma of your own creation, you'll wonder why you ever settled for anything less. Here’s why making your own is truly a game-changer:
- Superior Flavor and Freshness: Homemade paste bursts with the natural, complex flavors of dried chilies, garlic, and ginger. It's vibrant and aromatic, far surpassing the often dull and flat taste of commercial varieties.
- No Unwanted Preservatives or Additives: When you make it yourself, you control every ingredient. This means no artificial colors, flavors, or chemicals, making it a healthier choice for you and your family.
- Unmatched Versatility: Red chili paste is a global superstar. It’s an essential ingredient in countless cuisines, including Thai curries, Korean gochujang-inspired dishes, Indian masalas, and spicy Mexican salsas. It's also fantastic in salad dressings, marinades, dipping sauces, and even spread on sandwiches.
- Customization to Your Palate: Are you a heat-seeker or do you prefer a milder warmth with more emphasis on flavor? With homemade paste, you can adjust the type of chilies, the level of sweetness, saltiness, and tanginess to perfectly match your preferences.
- Cost-Effectiveness: While the initial purchase of dried chilies might seem like an investment, a large batch of homemade paste is often more economical than repeatedly buying smaller jars from the store, especially if you use it frequently.
Essential Ingredients for Your Flavorful Red Chili Paste
Crafting an exceptional red chili paste starts with selecting quality ingredients. Each component plays a vital role in building the paste’s distinctive flavor profile.
- Dried Red Chilies: This is the star of your paste! The type of chili you choose will dictate the heat, color, and subtle flavor nuances.
- For smoky heat: Consider Szechuan or Arbol chilies.
- For vibrant color with mild heat: Kashmiri chilies are excellent.
- For a rich, fruity note with medium heat: Guajillo or Ancho chilies work beautifully.
Always remember to remove the stems before soaking.
- Boiling Water: Essential for rehydrating and softening the dried chilies, making them easier to blend into a smooth paste. You'll also reserve some for blending.
- Cooking Oil: A neutral-flavored oil like vegetable, canola, grapeseed, or sunflower oil is best. It acts as a medium for cooking the paste and helps carry the flavors.
- Fresh Aromatics (Garlic & Ginger): These provide the aromatic foundation and depth for your paste. Fresh is absolutely key here for the best flavor. Peel and mince them finely.
- Balancing Seasonings (Salt, Sugar, Vinegar): These three ingredients are critical for creating a well-rounded flavor profile.
- Salt: Enhances all the other flavors.
- Sugar: Balances the heat of the chilies and adds a touch of sweetness.
- Vinegar: (White or rice vinegar) Provides acidity, brightens the flavor, and acts as a natural preservative.
- Optional Enhancements: Don't be afraid to experiment!
- A splash of soy sauce or fish sauce can add a rich umami depth.
- A squeeze of lemon or lime juice offers a brighter, citrusy kick.
- A dash of toasted sesame oil lends an authentic Asian aroma.
- Even a pinch of smoked paprika can add another layer of complexity.
Step-by-Step Guide: How to Make Red Chili Paste in 30 Minutes
Making red chili paste is a straightforward process, broken down into a few simple stages. Follow these steps for a perfect, potent paste every time.
1. Preparing and Soaking Your Chilies
Start by preparing your dried red chilies. Carefully remove the tough stems from each chili. For those who prefer a less intense heat or want to reduce any potential bitterness, you can carefully slit the chilies open and shake out some of the seeds. However, many recipes call for keeping the seeds in for maximum heat and authentic texture.
Place the stemmed (and optionally deseeded) chilies in a heatproof bowl. Pour enough boiling water over them to completely submerge all the chilies. To ensure they stay submerged and rehydrate evenly, place a small plate or another heavy object on top. Let the chilies soak for 25-30 minutes. This crucial step softens them significantly, making them much easier to blend into a smooth paste.
2. Blending for the Perfect Consistency
Once your chilies are plump and soft, carefully drain them, but be sure to
reserve about half a cup of the soaking water. This water is gold for achieving the perfect paste consistency.
Transfer the softened chilies to a high-speed blender or food processor. Add just a few tablespoons of the reserved soaking water to start. Begin blending, stopping to scrape down the sides of the blender jar as needed, to ensure all the chilies are evenly processed. Gradually add more reserved soaking water, one tablespoon at a time, until you achieve a smooth, thick, and uniform paste. The goal is a rich paste consistency, not a thin liquid. A powerful blender will yield a super smooth paste, but even a standard one will work well with sufficient soaking and patience.
3. Cooking and Infusing Flavors
This step is where your chili paste truly comes to life, as cooking mellows the raw chili flavor and deepens the color and aroma.
Heat 2-4 tablespoons of your chosen cooking oil in a pan (a non-stick pan works well) over medium heat.
- For a Plain Chili Paste: If you desire a simple, unseasoned chili paste, add the blended chili mixture directly to the hot oil. Sauté, stirring frequently, for 3-4 minutes until it becomes fragrant and the color deepens slightly. This basic paste is fantastic for recipes where you want to control all other seasonings separately.
- For a Seasoned Chili Paste (Highly Recommended!): This version offers much more depth and balance. First, add your minced garlic and ginger to the hot oil. Sauté for about 30-40 seconds until they become fragrant – be careful not to let them burn, as burnt garlic or ginger can turn bitter. Immediately add the blended chili paste to the pan. Stir well to combine with the aromatics. Now, add your salt, sugar, and vinegar. Cook the mixture for another 2-5 minutes, stirring continuously. This cooking time allows the flavors to meld, the raw edge of the chilies to soften, and the paste to develop a richer hue. Don't overheat the paste, as it can burn easily and develop a bitter taste. Constant stirring is key!
Customizing Your Chili Paste: Beyond the Basics
The beauty of homemade chili paste lies in its adaptability. Once you master the basic method, you can start experimenting to create a paste that perfectly suits your palate and intended culinary use.
- Adjusting Heat Levels: If you found your first batch too mild, try hotter chilies like Thai bird's eye chilies or habaneros (use sparingly!). For less heat, remove more seeds or choose milder varieties like New Mexico chilies.
- Exploring Flavor Profiles:
- Umami Boost: A dash of fish sauce, a spoonful of fermented black beans, or even a pinch of mushroom powder can add incredible savory depth.
- Citrus Brightness: While vinegar provides tang, a squeeze of fresh lemon or lime juice after cooking can offer a fresher, brighter note.
- Sweetness Variations: Instead of white sugar, try brown sugar for a richer caramel note, or a touch of honey or maple syrup for a different kind of sweetness.
- Smoky Undertones: Incorporate smoked paprika, or for a truly authentic touch, use smoked dried chilies (like chipotle or morita).
- Herbal/Spice Infusions: For specific regional flavors, consider adding a star anise, a small piece of cinnamon stick, a pinch of cumin, or coriander powder during the cooking phase.
For more advanced customization techniques and an in-depth exploration of regional variations, be sure to check out our detailed guide:
Craft Your Perfect Red Chili Paste: Custom Flavors & Canning Tips.
Storage & Longevity: Keeping Your Paste Fresh
Once your delicious red chili paste is cooked and seasoned, proper storage is essential to maintain its freshness and extend its shelf life.
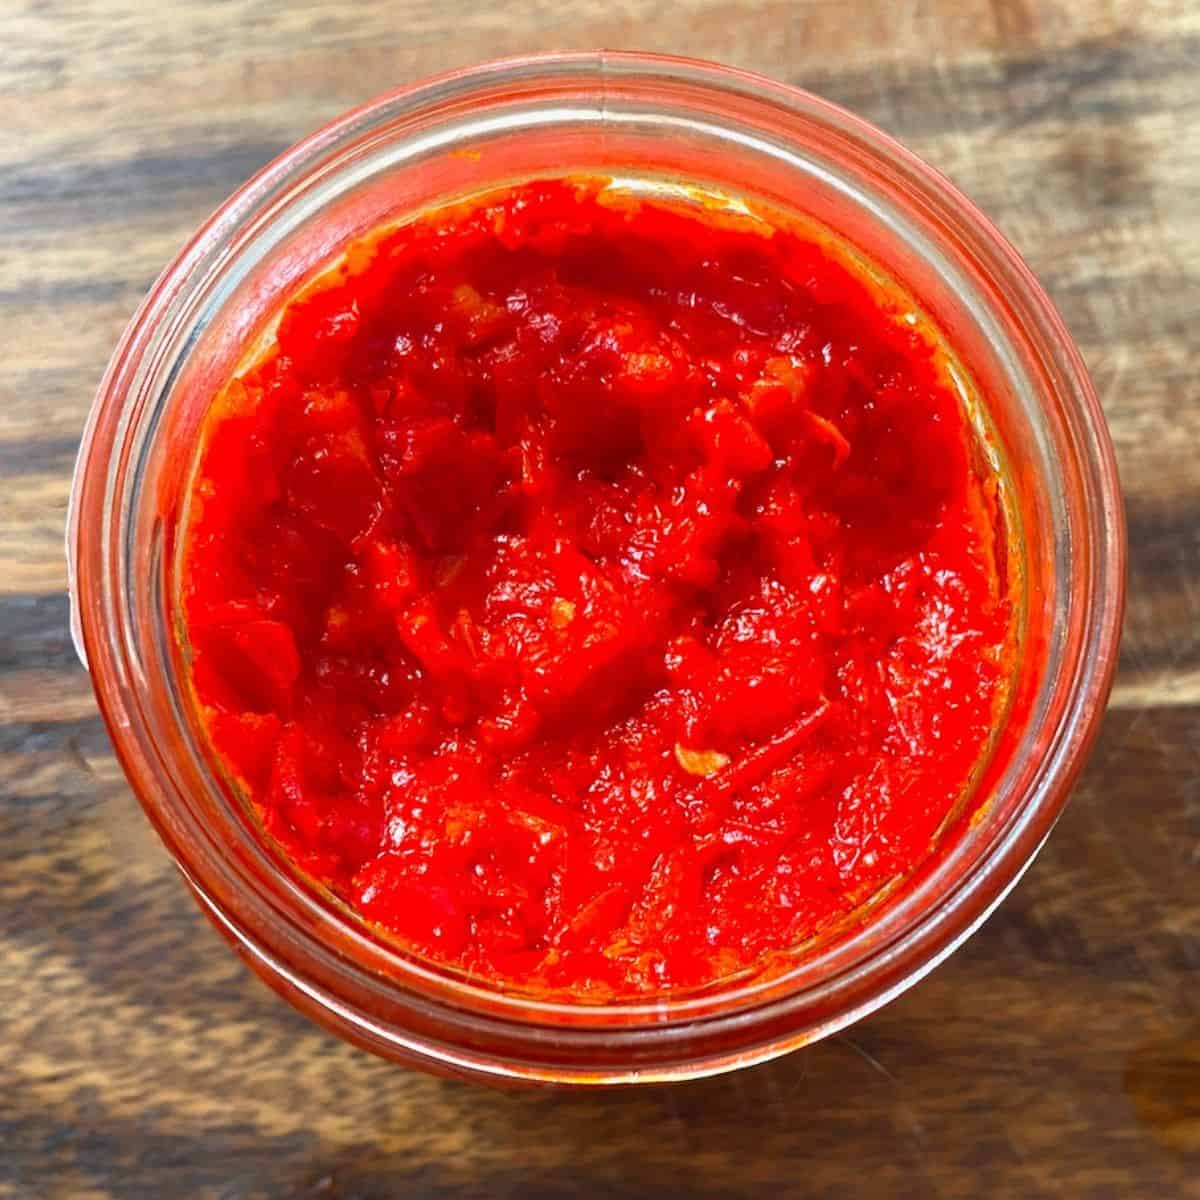
First and foremost, allow the cooked chili paste to cool completely to room temperature before storing. Transfer it to a clean, sterilized, and airtight container or jar.
- Refrigeration: Your homemade red chili paste will keep beautifully in the refrigerator for up to 15 days. Always ensure it's in a tightly sealed container to prevent odor transfer and maintain freshness.
- Freezing: For longer storage, freezing is an excellent option. Spoon the paste into ice cube trays for convenient, pre-portioned servings. Once frozen solid, transfer the cubes to a freezer-safe bag or container. Frozen chili paste can last for up to 6 months without significant loss of flavor.
- Canning (Advanced): For those looking for truly long-term storage, water bath canning is a method that can preserve your chili paste for up to a year. This requires specific equipment and adherence to canning safety guidelines.
For a comprehensive guide on various storage methods, including detailed instructions for freezing and canning, consult our article:
The Ultimate Guide to Homemade Red Chili Paste & Storage.
In conclusion, learning
how to make red chili paste at home is a rewarding culinary adventure that promises fresher flavors, complete ingredient control, and endless versatility. In just 30 minutes, you can create a potent, vibrant condiment that will elevate a multitude of dishes, bringing a professional touch to your home cooking. So, gather your chilies, unleash your inner chef, and prepare to infuse your meals with an unforgettable kick! Enjoy experimenting with your newfound kitchen staple!